
 Thursday night and feeling CRAZY!!!!!
Not really.
But I did just get home from a cookie decorating party! Wahoo!
And my teeth are coated in sugar. I was struggling. Sometimes you just have to be in the mood to decorate cookies.
Sometimes you just want to bake cookies. Then sometimes, you just want to eat the cookies. Sometimes, you think it would be so fun to decorate cookies and then all of a sudden you realize it is just not that fun tonight, so you start eating the peppermint M&Ms one by one and……the rest is history. Judging from my candy-coated canines, I’ll bet that I put more sugar in my mouth than on top of cookies tonight.  I love a delicious cutout cookie. Notice how I said a delicious one.
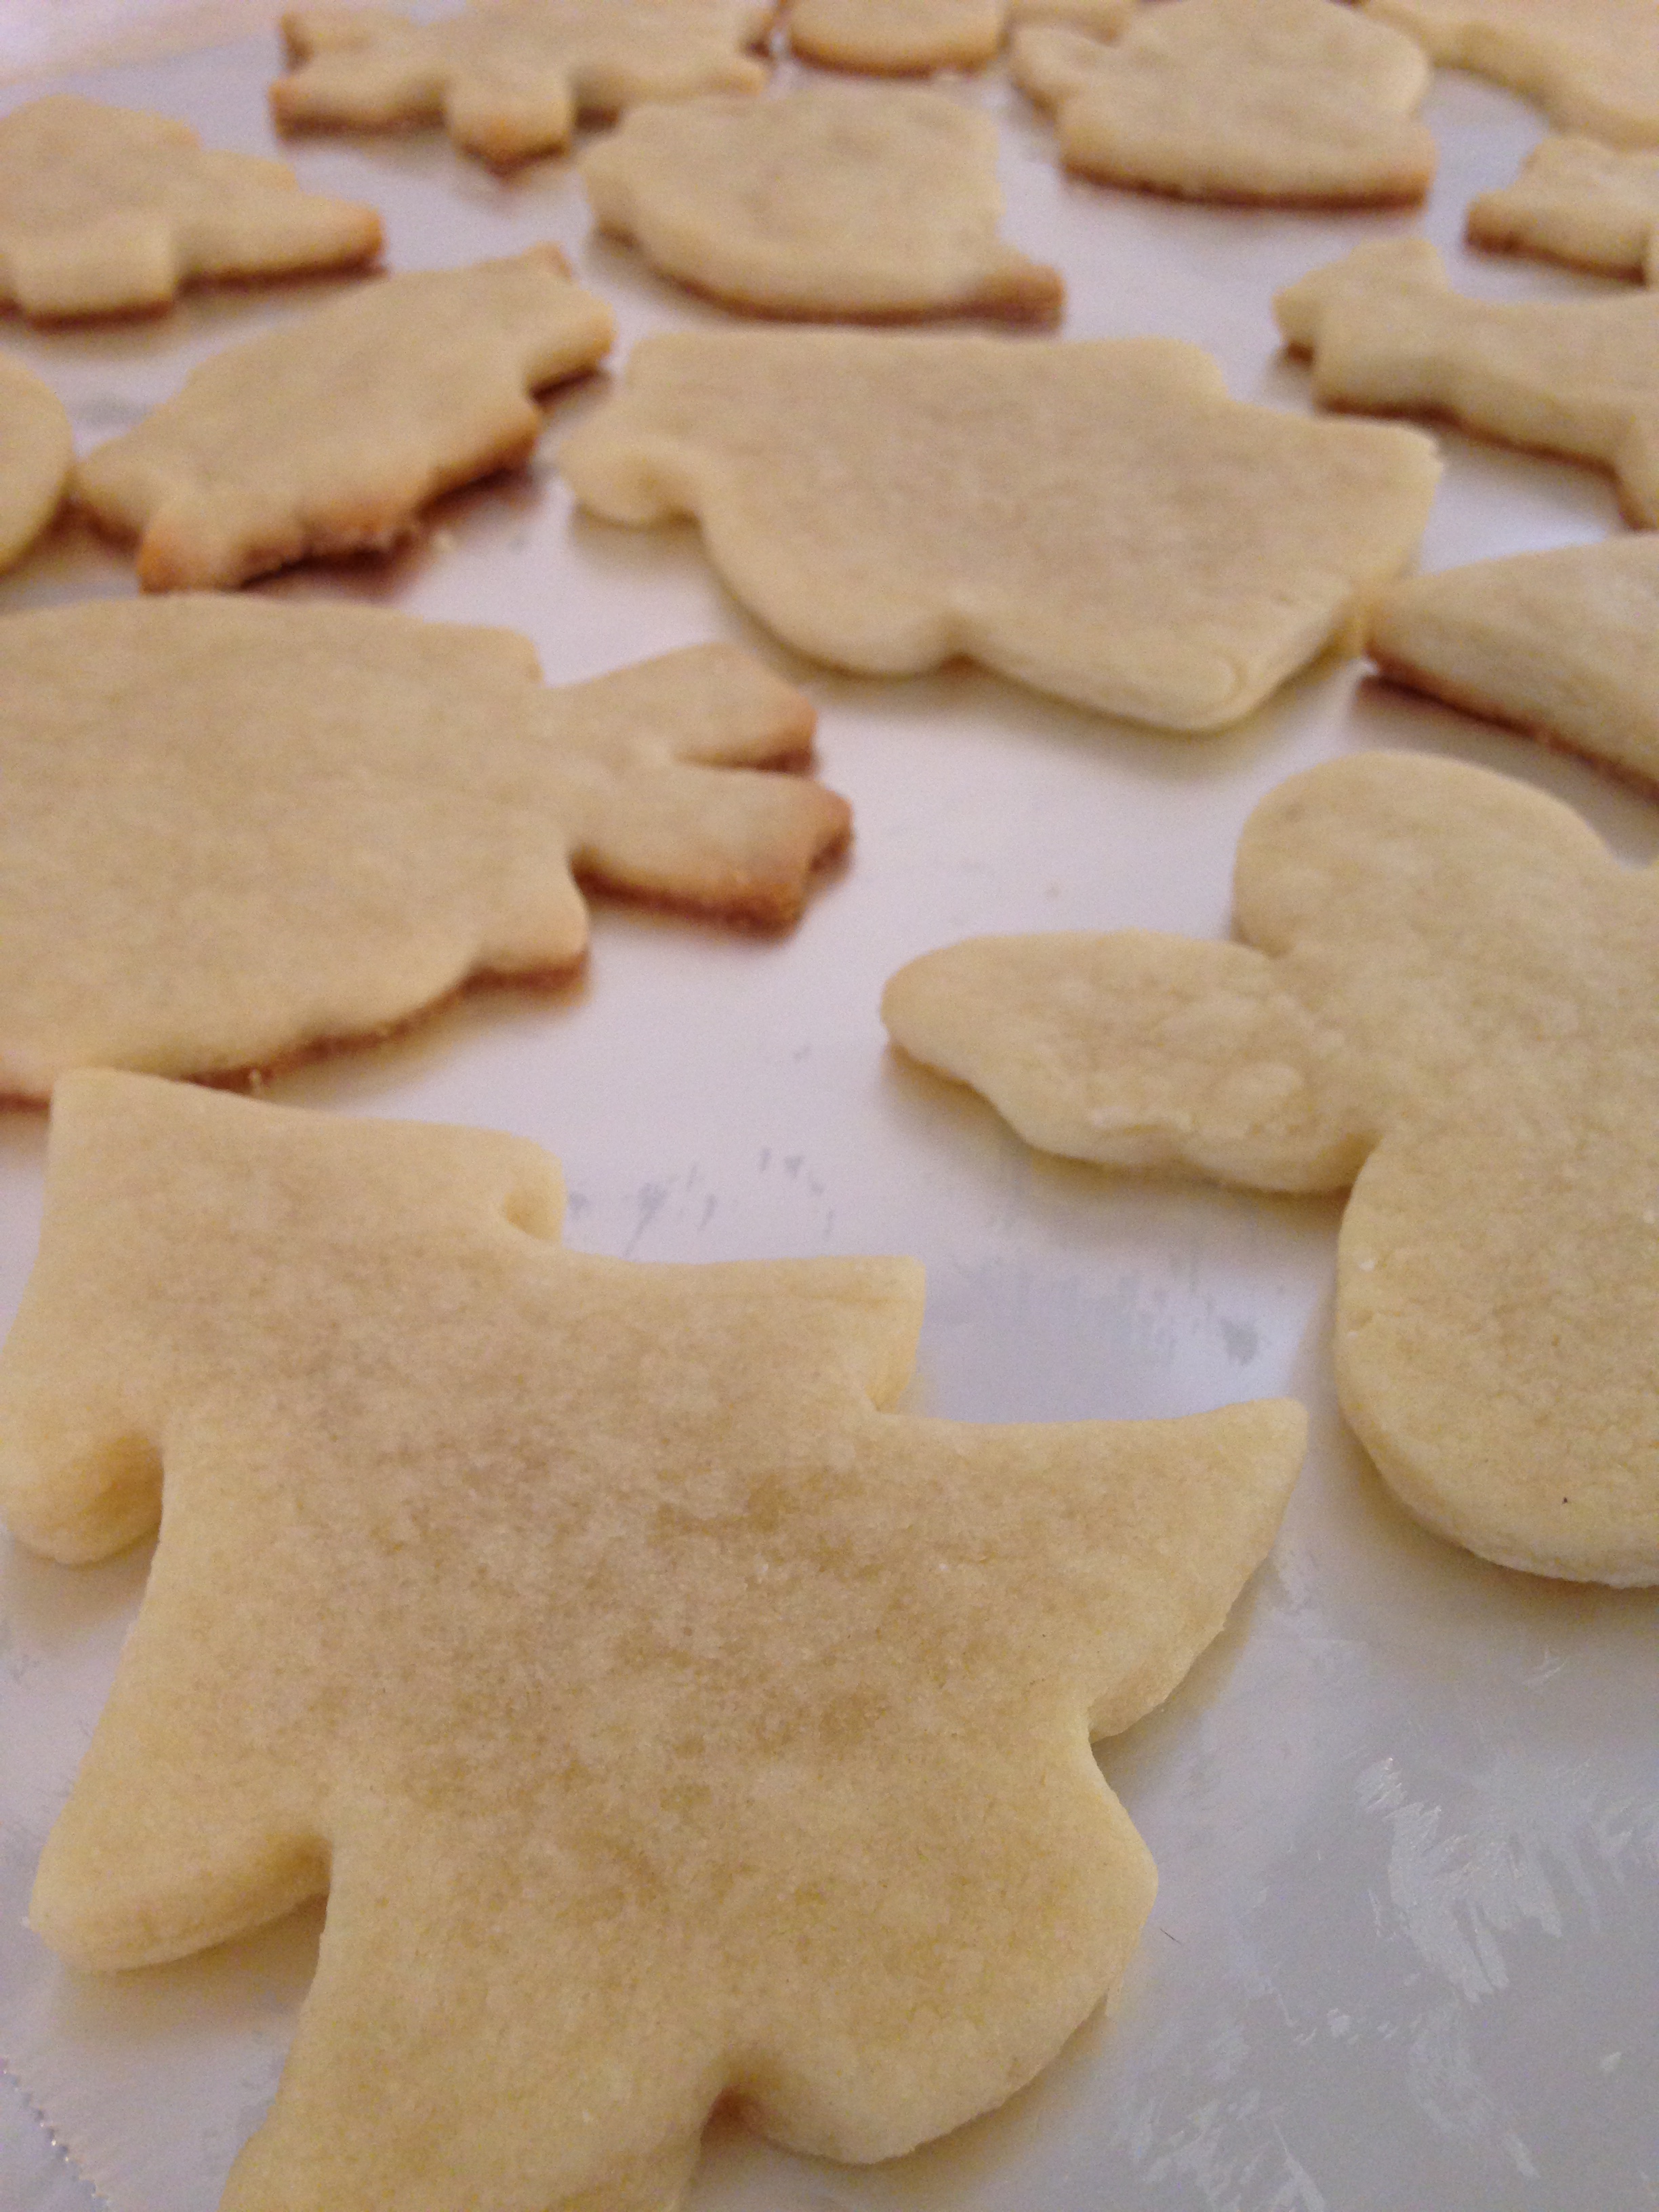
My ideal “delicious” sugar cutout cookie has to be thick. It has to be soft (but firm) and chewy, just barely on the verge of being golden, and has to have a hint of almond extract. Deeee-licious!
This is my absolute favorite recipe for cutout cookie perfection. It is my go-to recipe. ZERO chilling of the dough, which is huge for me. I hope you love it like I do.
No-Chill Cutout Cookies
Ingredients:
- 1 cup (2 sticks) of butter, softened
- 1 1/2 cups sugar
- 1 egg
- 1 1/2 tsp vanilla extract
- 1/2 tsp almond extract
- 2 3/4 cups of flour
- 1 tsp baking powder
- 1 tsp salt
What to do:
- Preheat oven to 350 degrees (F).
- In a big bowl, cream softened butter and sugar with a mixer. (Softened butter is VERY important here. If it is too solid, it won’t cream in with sugar. If it’s too liquid, it will clump sugar together.)
- Beat in egg first, then add in both extracts.
- Grab a small bowl and combine flour, baking powder, and salt with a fork.
- Add flour mixture to butter mixture a little bit at a time until both parts form a thick dough. (It should seem fairly dry.)
- Divide dough into two balls and roll each ball onto a floured surface, one at a time. (Ideal thickness for me was about 1/4 inch, but I’ve left it as thick as a 1/2 inch. The thinner you roll the dough, the quicker they brown.)
- Use cookie cutters or a glass to cut your cookies into desired shapes and transfer to an ungreased cookie sheet using a metal spatula.
- Bake for 8-12 minutes, until the edges of the cookies just barely begin to brown.
- Let cookies cool completely before frosting or decorating and share with your family and friends! YUM!
**Store in an airtight container to keep cookies from drying out! Cookies also freeze well!
Adapted from the Wilton.com recipe for Roll-Out Cookies
